Home Greenhouse Setup

Arjun Mehta
| 16-11-2026
 · Lifestyle team
A productive greenhouse needs room for more than plants. Growing space and work space can quickly compete when everything goes wherever there happens to be room.
Planning the layout around the work you do most often makes daily tasks easier. It also helps you give plants the conditions they need without letting tools and supplies take over the growing area.
1. Plan Around Your Gardening Goals
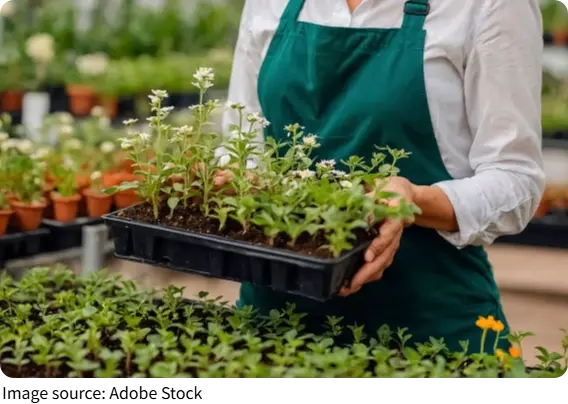
Before buying shelves or moving plants inside, decide how you’ll use the greenhouse. If you’re starting vegetables from seed, set aside room for trays, a workbench, and grow lights if needed. If you’re sheltering tropical plants through winter or growing succulents, plan for their different temperature, humidity, and light needs.
If you’re choosing a site, use six hours of daily sunlight as a starting point and check how much light the site gets in winter. In the Northern Hemisphere, a sunny spot on the south or southeast side of the house can work well. Check where nearby buildings and trees cast shade before settling on a location.
2. Divide the Space Into Zones
Start by measuring the greenhouse and marking fixed features such as doors, windows, and vents. Sketch the layout on paper so you can see where the bench and shelves will fit without blocking doors or cutting into the space you need to move around.
Set aside a bright area for seed trays and flower cuttings, with supplemental heat if the plants need it. Place the workbench at a comfortable height. A slatted surface lets loose soil and water fall through instead of collecting on the work surface.
3. Choose Moisture-Resistant Shelving
Ordinary indoor shelving may deteriorate quickly in a humid greenhouse. Choose materials that can tolerate moisture and support the weight of plant containers and supplies. Coated steel wire shelving is durable, and the open shelves let air and light pass through.
Plastic shelving, including polypropylene, is lightweight, easy to clean, and won’t rust. For heavier equipment and larger containers, look for load-rated shelving made of aluminum, galvanized steel, or powder-coated steel.
4. Arrange Plants by Light Needs
Light levels vary across a greenhouse. Put sun-loving plants on the brightest shelves rather than assuming the highest shelves always get the most light.
ZZ plants (Zamioculcas zamiifolia) tolerate lower light levels than snake plants. Check how much light reaches each shelf before deciding where to put either plant.
5. Set Up Watering, Lighting, and Airflow
A hose connected to an outdoor faucet can work for watering, but an indoor faucet and sink make it easier to water plants and clean up. Drip irrigation can deliver water directly to plant containers, while misting is an option for plants that need more humid conditions.
Use grow lights where natural light is insufficient, especially for seedlings. Full-spectrum LED bulbs, tubes, and compact fixtures can be fitted above shelves. Warm, humid conditions can encourage plant diseases, so position small fans to keep air moving around the plants.
6. Organize Tools, Seeds, and Supplies
Install a pegboard near the workbench to keep frequently used tools within reach. Store soil blends and amendments in lidded containers and use waterproof labels so you can tell them apart without opening each one.
Keep seed packets in alphabetical order in a binder with clear sleeves so you can find the variety you want without sorting through loose packets. If you only keep a few packets on hand, a small box takes up less room.
7. Inspect Plants Regularly
Check new plants before bringing them into the greenhouse, paying particular attention to the undersides of leaves. During routine checks, look for insects, damaged foliage, or signs of disease so you can spot problems before they spread.
Before fixing the shelves in place, carry a full watering can through the layout. If you have to turn sideways or lift the can over trays, shift the shelves or bench while they’re still easy to move.