Perfect Nail Polish

Mukesh Kumar
| 19-10-2026
 · Lifestyle team
Dear Lykkers, have you ever chosen a lovely nail polish color but found it difficult to apply evenly? Don't worry! We can create a neat manicure at home with a little practice and a few simple techniques.
Doing our own nails saves money and lets us enjoy different colors whenever we like. Let's explore seven useful tips for achieving a smooth, shiny finish.
1. Prepare the Polish
Before painting, gently roll the closed bottle between your hands to mix the color. Avoid shaking it too hard, as this can create air bubbles that leave tiny marks on your nails. Place the bottle upright on a flat surface and keep the brush clean. Good preparation helps us work more comfortably.
2. Apply a Base Coat
A base coat gives us a smooth starting surface. Apply a thin layer before using colored polish. It helps the color spread evenly and can reduce staining caused by darker pigments. Allow the base coat to dry according to the product instructions before continuing. This small step can make a noticeable difference to the final result.
3. Control the Amount
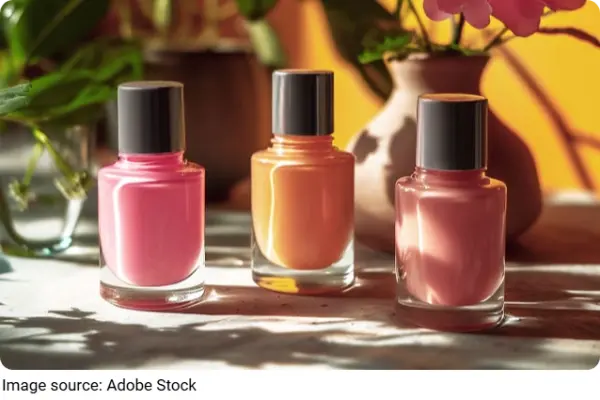
Too much polish on the brush can cause thick patches, uneven edges, and long drying times. Before painting, gently wipe one side of the brush against the inside of the bottle opening. The brush should hold enough color to cover the nail without dripping.
If the first application does not cover everything, add a little more polish rather than applying one heavy layer. Thin coats are easier to control and usually produce a smoother finish.
4. Use Smooth Brush Movements
Place the brush slightly away from the cuticle, the thin skin at the base of the nail. Gently move the color toward the base without touching the skin, then draw the brush toward the tip in one steady movement.
For most nails, three brush movements work well: one down the center and one along each side. Avoid repeatedly brushing the same area while the polish is wet, as this can leave lines. For wider thumbnails, work in smaller sections. If color touches the surrounding skin, remove it carefully with a small correction brush.
5. Apply Two Thin Coats
One coat may look pale or patchy, especially with lighter shades. Two thin coats usually create a richer, more even color. Apply the first layer, allow it to dry, and then add the second using the same smooth movements.
Do not rush between coats. If the first layer is still wet, the brush may drag the color and leave marks. A little patience helps us achieve a cleaner finish without using too much polish.
6. Add a Top Coat
Once the colored layers have dried sufficiently, apply a clear top coat. It adds shine and helps protect the color from everyday wear. Spread it evenly across the nail, then lightly brush over the free edge at the tip.
This final touch is useful because the tips often experience friction when we type, open packages, or handle everyday objects. Follow the product instructions and give the layers enough time to dry before returning to regular activities.
7. Keep a Steady Pace
Working efficiently is helpful, but rushing can lead to mistakes. Prepare your polish, tissues, and correction brush before starting. Paint each nail with a few controlled brush movements and avoid placing too much color near the surrounding skin.
Pay attention to the tips, where chips often begin. Lightly seal each edge with the brush to help the color last longer. Choose a well-ventilated room and keep your work surface tidy. With practice, our movements will become steadier and more confident.

Final Thoughts
Lykkers, a beautiful home manicure starts with simple habits rather than expensive equipment. By preparing the polish, using a base coat, controlling the amount, applying two thin layers, and finishing with a top coat, we can enjoy neater results at home.
Start with one favorite color and practice these steps at your own pace. Which shade would you choose for your next manicure? Share your favorite color and your best nail-painting tip with us!